•TOPIC COVERS IN TUBE FAILURES AND TESTING
•VARIOUS INSPECTION TESTS, INCLUDING THE LATEST EQUIPMENT
•HOW TO HANDLE A PRESSURE PART FAILURE
•VARIOUS TYPES OF TUBES FAILURES, CAUSES & REMEDIES
Methods for inspection
- Visual inspection
- Thickness measurement
- DPT/MPT/UT
- NDT Test Selection
- Modern testing equipment
TYPES OF TESTINGS FOR TUBE FAILURES
TESTING CLASSIFICATION
MOST POWERFUL INSPECTION TOOL
THUS VISUAL INSPECTION IS THE MASTER OF ALL TESTING
•DESTRUCTIVE
–TENSILE TEST
–COMPRESSION TEST
–BEND TEST
–IMPACT TEST
–MICRO/MACRO ANALYSIS
•NON-DESTRUCTIVE
–RADIOGRAPHY
–ULTRASONIC TESTING
–MAGNETIC PARTICLE TESTING
–DYE PENETRANT TESTING
–ELECTROMAGNETIC TESTING
–LEAK TESTING
–VISUAL TESTING
–RFID
–LFET
–IRIS
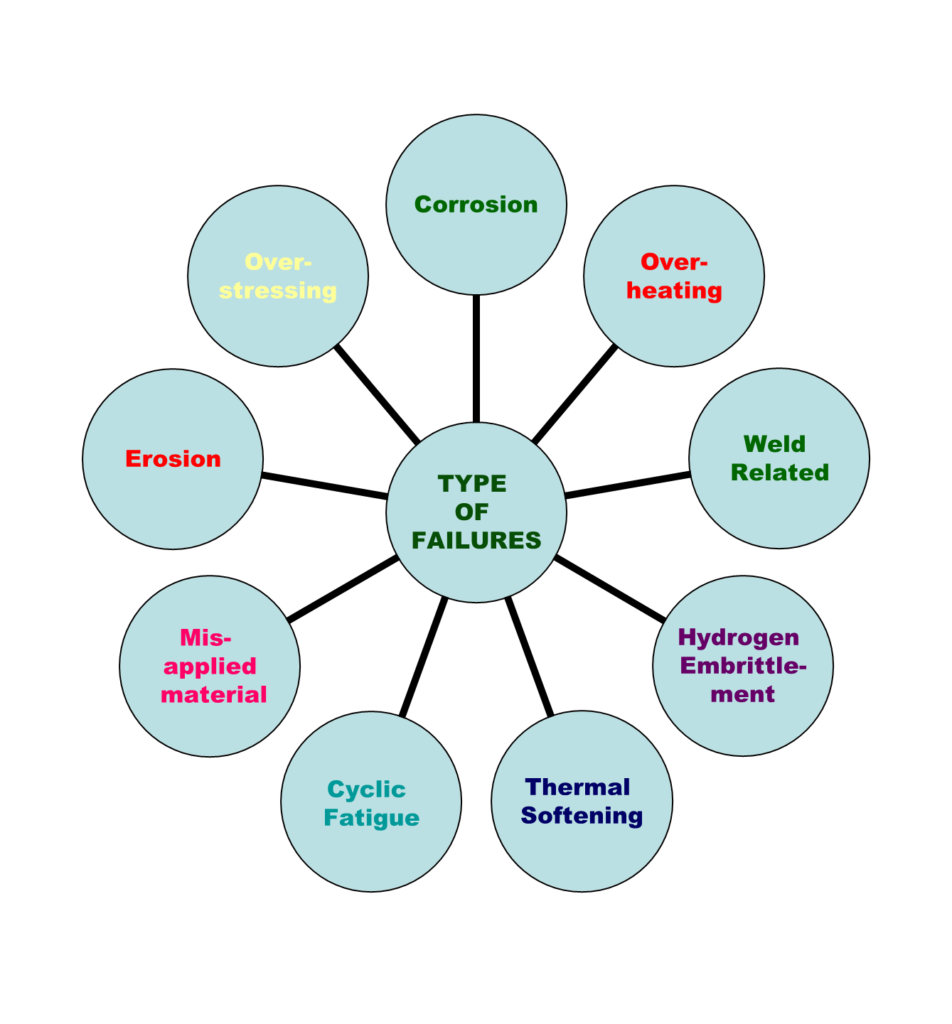
Types of tube failures

WHY PRE-HEATING OF BASE METAL?
• Pre-heat removes moisture content from base metal which can lead to poor welding quality.
•Distortion of base metal due to internal stresses developed during welding.
•Reduces hardness of weld metal
•Control cooling rate to avoid cracking
WHY BAKE LOW HYDROGEN ELECTRODES?
•Visible external porosity in addition to internal porosity.
•Moisture can cause slag removal difficult, a rough weld surface and cracking
WHY CALIBRATION?
•To ensure proper working of instrument/equipment
•Improper working of the baking oven can result in over/ under heating of the electrode
•Improper working of welding equipment can lead to wrong operation characteristics of m/c resulting in welding defects
•Improper working of measuring instrument can lead to failure during assembly
FIBEROSCOPY/ VIDEOS COPY
Components –
Accessible internal surface of Tubes & Header
Visual inspection – Photographs of the inspected object taken
Fiberscope carried out where :
-Specimen may not be removed
because it would weaken or
otherwise, render it useless for
service.
-Part or structure too large to
bring to laboratory
-Object inaccessible
OXIDE SCALE MEASUREMENT
•Tube Temperatures > 900o F
•Failure prone to Creep Fatigue
•Oxide Scale formed (Fe2O3)
•Metal temperature increase 1-2o F increases creep damage
INSITU METALLOGRAPHY
Field surface Replication is a process that permits obtaining an image of a component surface with sufficient retention of fine structure to allow laboratory examination & evaluation without having to cut out a portion of the component. The assessment of grain size and precipitate spacing using both optical & electron microscopy can establish the presence of microstructural damage or changes and assist in understanding service conditions.
HOW TO HANDLE PRESSURE PARTS FAILURE
•Consider Pressure Parts failure as a serious lapse from either designer, erector, commissioning engineer or O & M staff.
•Treat it as a crime, and FIR must be logged with utmost care.
•Shut the unit as early as possible to minimize further damage.
•Gather as much as information possible related to failure, that includes data before failure, at the time of failure and after the failure
•Preserve the operating log sheet and DCS trends as early as possible
•Spend a minimum of 15-30 minutes inspecting & investigating the failure area without disturbing the evidence.
•Take a Photograph of the failed and surrounding area along with noting critical observation.
•Inspect the adjacent tube condition with the same zeal & attitude.
•Type of failure would more often suggest the cause.
•Cut down the failed tube of @ 500 mm length, keeping failed spot at the centre. Cut the tube preferably with a hack saw.
•Before cutting the sample, mark tube no., the direction of fluid flow, side facing flue gas flow
•Do not remove the internal deposit of the cut tube and cover both ends of the cut tube.
•Try to preserve the external deposit too.
•If overheating symptoms are there, it is advisable to cut one more sample from the adjacent un-failed tube.
•Send the tube sample to IJT H.O with proper packing along with the Data format filled.
•Carry out thorough Physical, chemical and metallurgical analysis of both tubes.
•Carry out deposit analysis collected from failed tubes. Which will indicate the water chemistry condition.
•Based on the analysis, the root cause can be concluded.
•Ensure that all the corrective actions on the boiler are incorporated at the earliest opportunity.
You can also check troubleshooting of Boiler
Various types of TUBE FAILURES
•During Manufacturing
•During Transportation
•During Erection
•During Operation / In-Service
•Idle period.
Any Pressure part can be grouped into two classes.
•Water Cooled Tubing or Headers
•Steam Cooled Tubing and Headers
The failure mechanism of these parts differs marginally.
